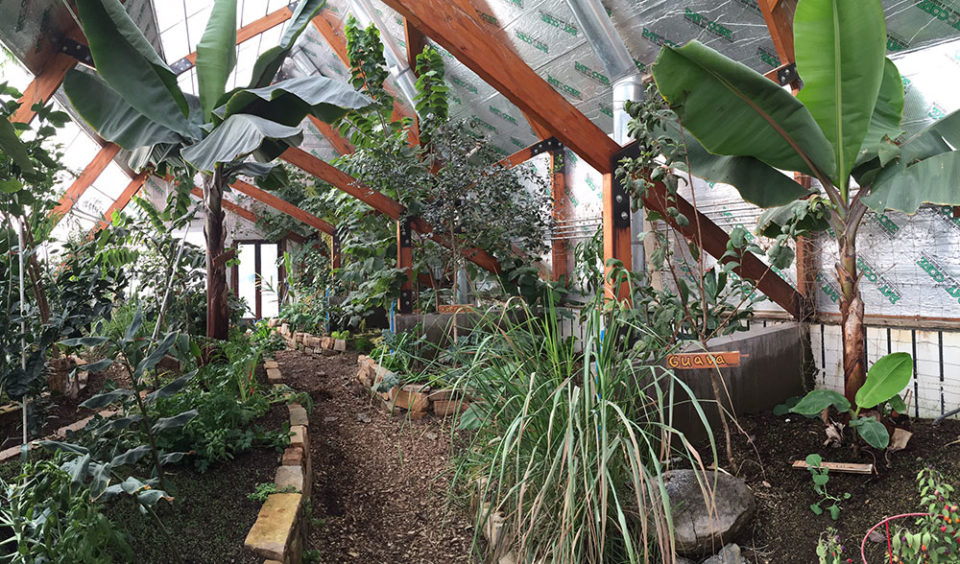
The tropical greenhouse is up and running! It took over a year to build – scroll down to see how we did it.
The Vision
Imagine…
- Going to a restaurant any day of the year and ordering a salad created from greens grown just a few miles away.
- Finding locally grown lemons and limes in South Dakota.
- Visiting a farm that is growing flowers, bananas, mangos and kiwi with 2 feet of snow on the ground.
- Using virtually no energy other than sunlight to grow food.
The Requirements
- 100% self sustainable tropical greenhouse growing citrus fruits, vegetables, tropical fruits and flowers
- Protein food production using Aquaponics system stocked with Tilapia, growing greens, tomatoes, squash and cucumbers
- Temperature maintained by the utilization of a thermal battery system
- Rainwater collection with reserves to provide irrigation for 3 months of no precipitation
- Electricity generation and storage sufficient to operate greenhouse 7 days with no sun
The Plan
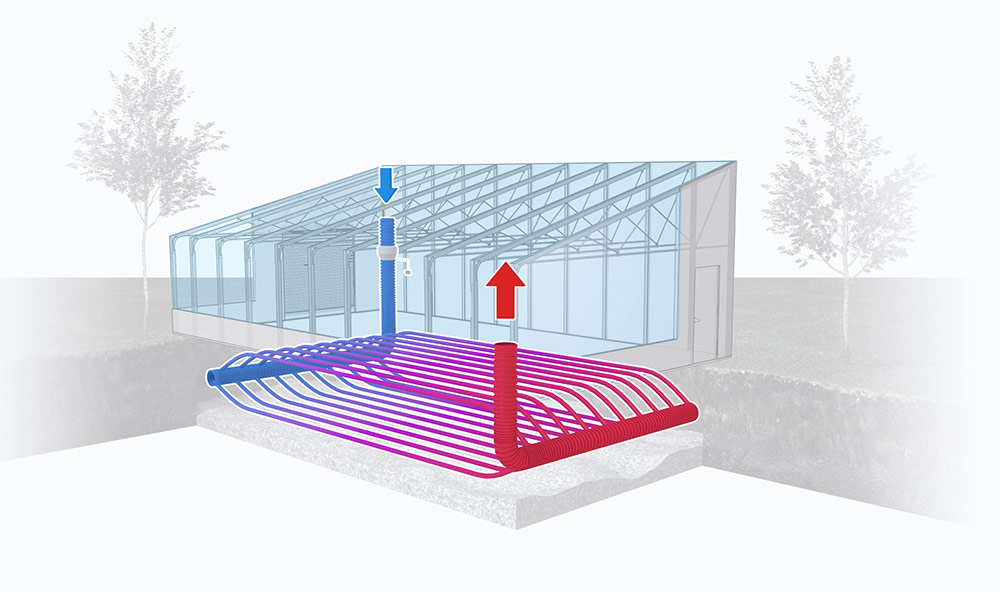
Construct a 17′ x 108′ steel frame greenhouse and excavate a 12′ x 108′ trench in the center that is 4′ deep. Our ground temperature at 6-8 feet runs around 50 degrees. Circulating air through the tubes will normalize the greenhouse temperature to the ground temperature.

We will place 12 lengths of 4″ drain pipe around the perimeter, cover with 12″ fill dirt and repeat 2 more times for a total of 24 lengths. These will be use for closed loop air temperature normalization. We will bury another 12 lengths on the south side for additional fresh air ventilation that will be tempered to ground temp before entering the greenhouse.
End walls will be built and all walls insulated to R15 except south wall. South wall is covered with polycarbonate panels.
The tube ends are connected to a manifold with blower fans to circulate air through tubes. Thermostats are set to keep the greenhouse temperature between 40 and 85 degrees.
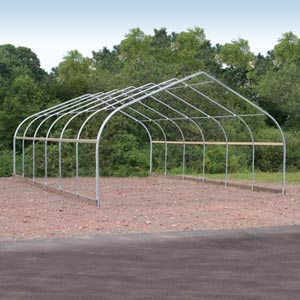
We will be building this from a kit provided by Greenhouse in the Snow in Alliance, NE. The kit includes the frame, polycarbonate panels and blowers.
Construction…
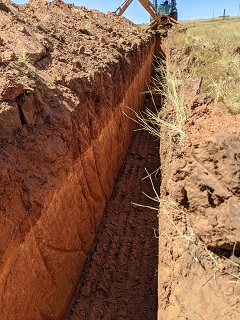
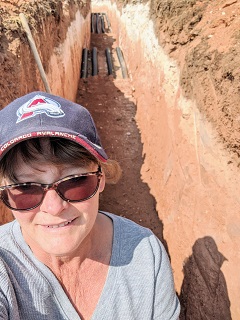
09/02/20 – Excavation Day. We dug 8-12 foot deep trenches around the perimeter of the greenhouse for the geo-air tubes.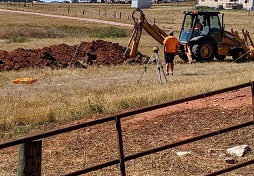
09/06/20 Laying in Tubes. The tubes were laid in the trenches 4 across on 12″ centers. We then added about a foot of soil and put in another layer of tubes. We did this a third time, giving us 12 tubes total. On the south side we continued the layering with another 12 tubes that will be the fresh air intake. Lots of shoveling and tamping.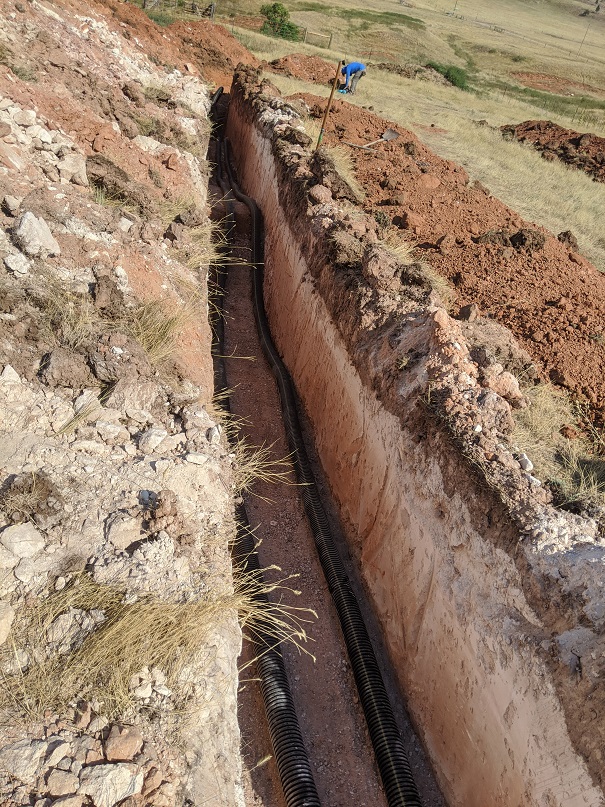
9/10/20 Burying the tubes was a combination of hand shoveling and gently dropped loads of dirt with the tractor. Then hours of tamping. 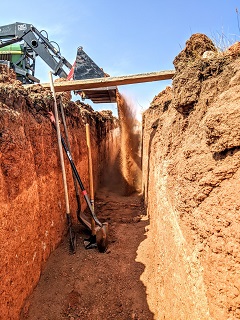
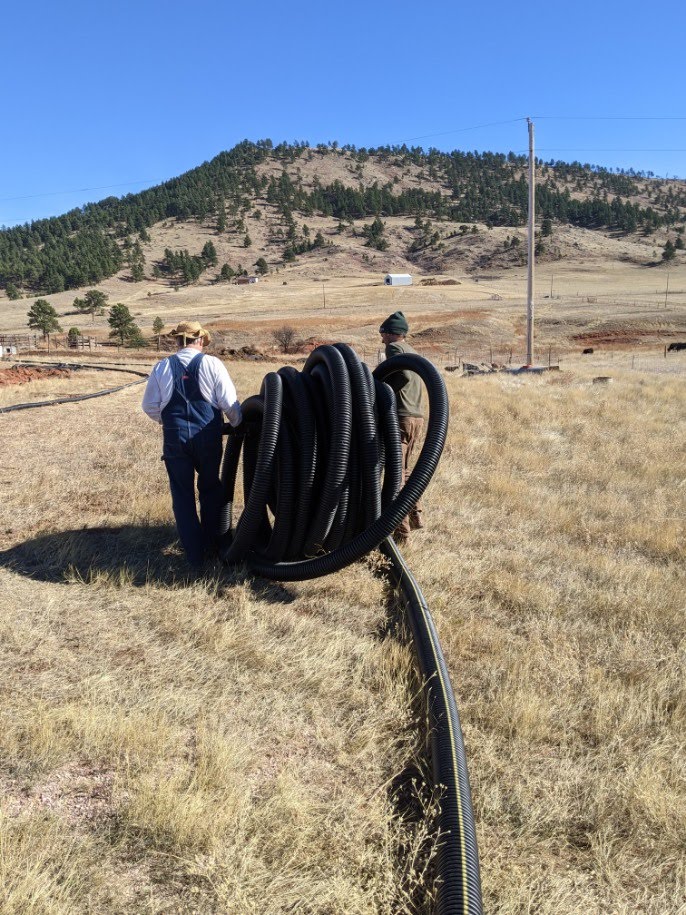
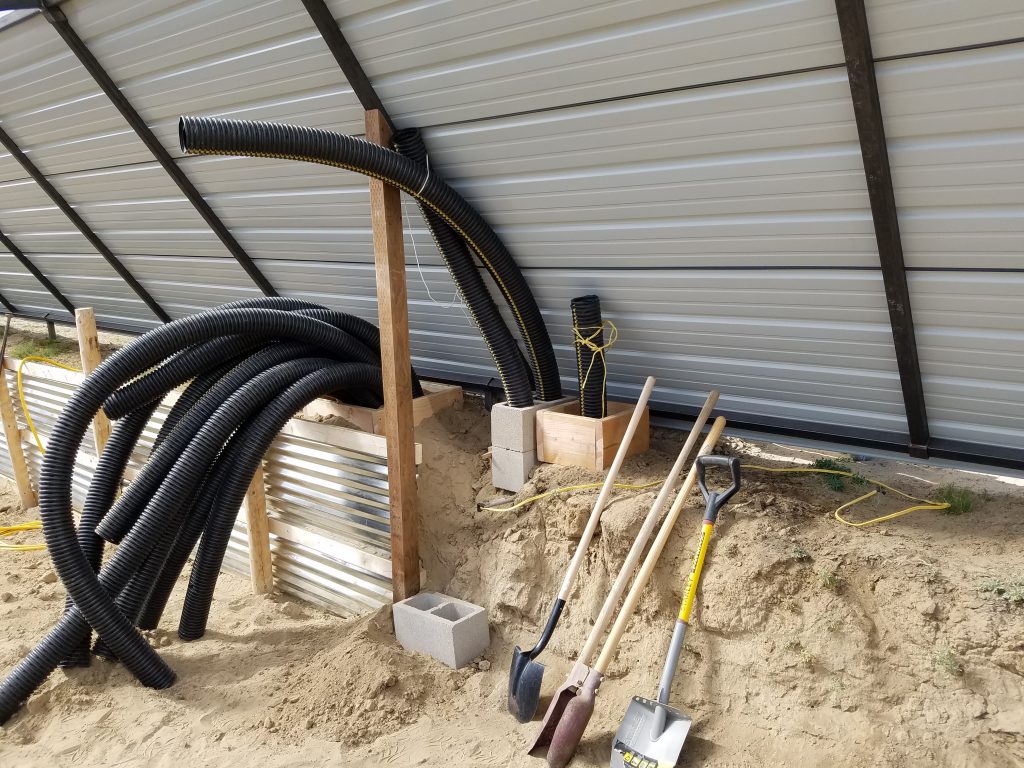
9/15/20-10/25/20 Tubing, tubing and more tubing. To keep it from kinking when stretching it out, we put a 4″ PVC pipe through middle and started walking. We got nice straight tubing for the entire 250′ roll.
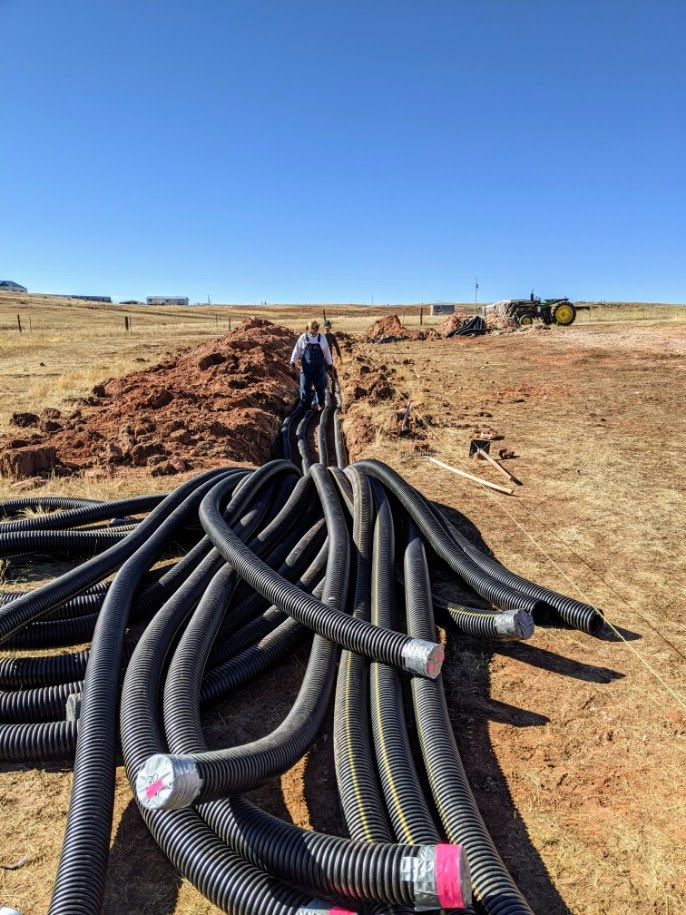
10/29/20 – Finally the last layer of tubes. At this point we have buried 4,500 feet of 4″ tube. Twenty-Four of these tubes will recirculate air within the greenhouse and twelve will draw in fresh outside air when the exhaust fan in the greenhouse is running (Only when the temperature rises above 90 degrees).
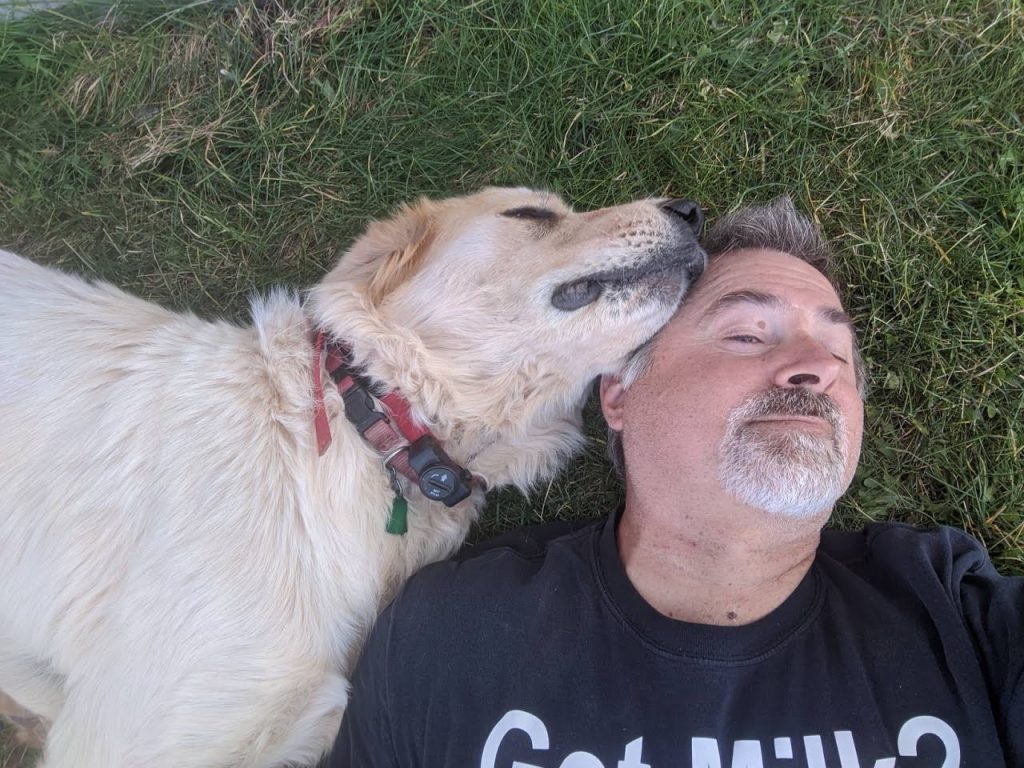
10/30/20 – Time for a nap with the dog. Kai seems to think my head is a nice pillow and I’m too tired to care.
11/03/20 – The next task is to make a flat base on which to build the structure of the greenhouse. We have a 5 foot elevation change between the east and west ends, so our plan is to shave off 2-3 feet from the west end and put 2-3 of fill on the east end.
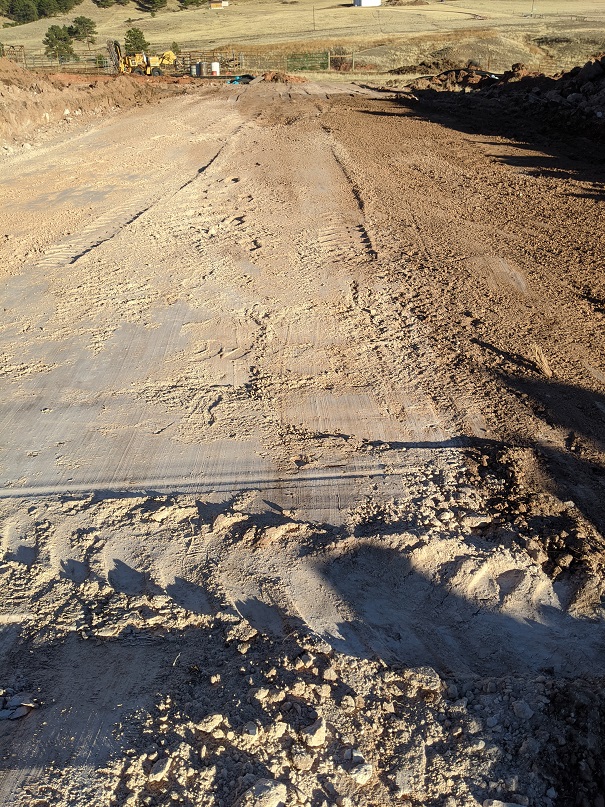
11/03/20 – The east end is now a nice flat grade at the level we want it. It is currently graded 6 feet wider then the greenhouse itself so we have room to put in the stakes that will hold the frame of the greenhouse. Once those are in, we will back fill where needed.
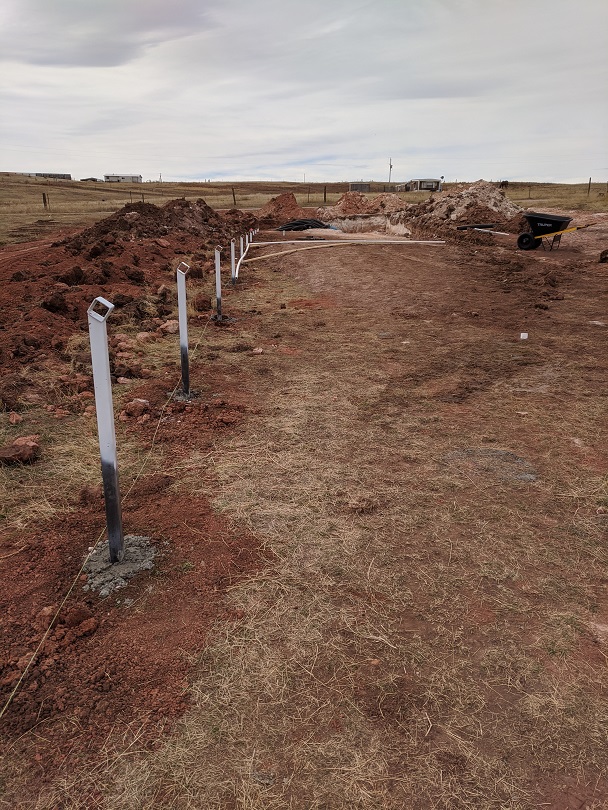
11/10/20 – The next step was to place the wall support stakes all in a perfect line at the same elevation. This seemed a little tricky at first, but then we discovered the water tube level. We filled 100 foot long 3/8″ inch poly tube with colored water and used each end to level the tops of the stakes. That got us within 1/16th of an inch every time.
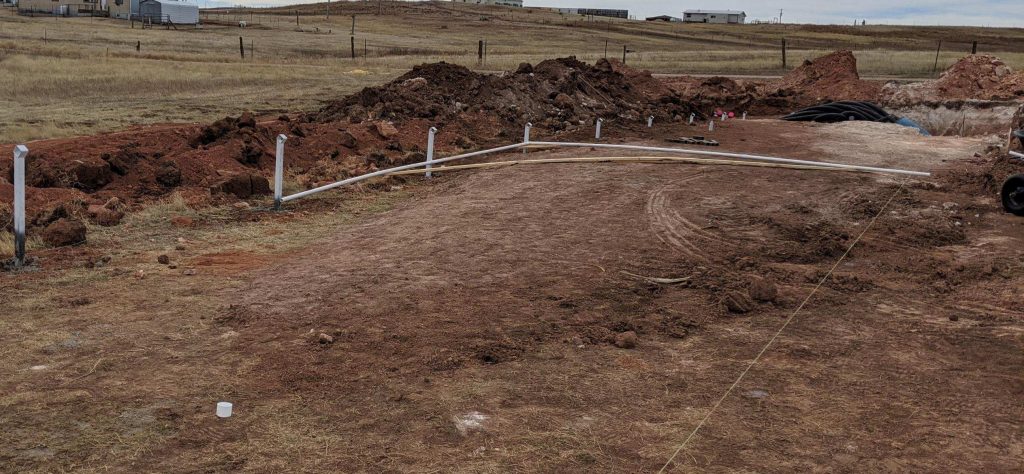
To place the stakes on the opposite side, we started to use a tape and math and that because too time consuming to repeat for every stake. We decided to build a super-size square instead and that worked great!
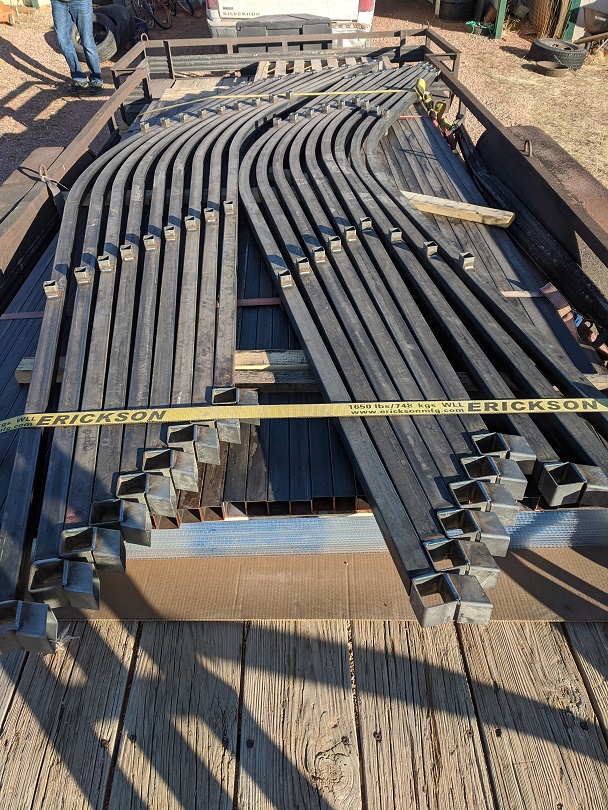
11/25/20 – Picking up the greenhouse. Today was a trip to Alliance NE where we picked up the greenhouse frame from Greenhouse in the Snow.
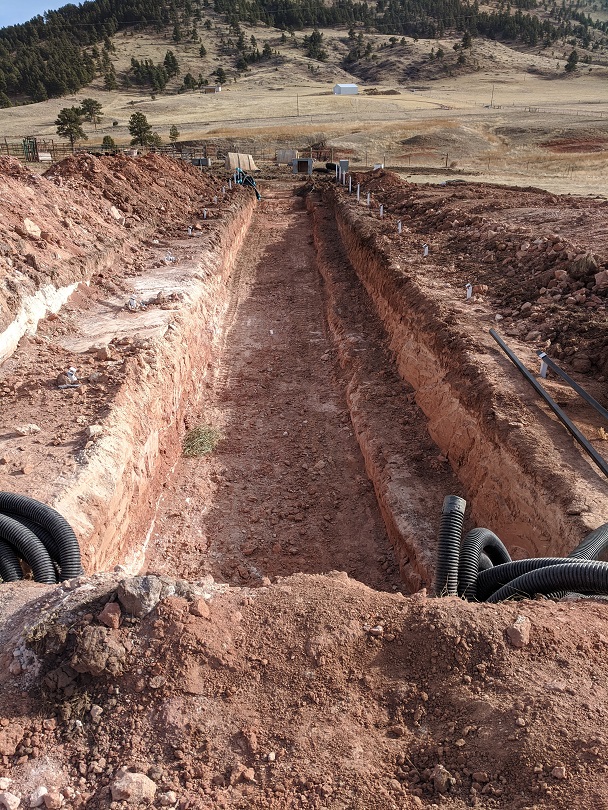
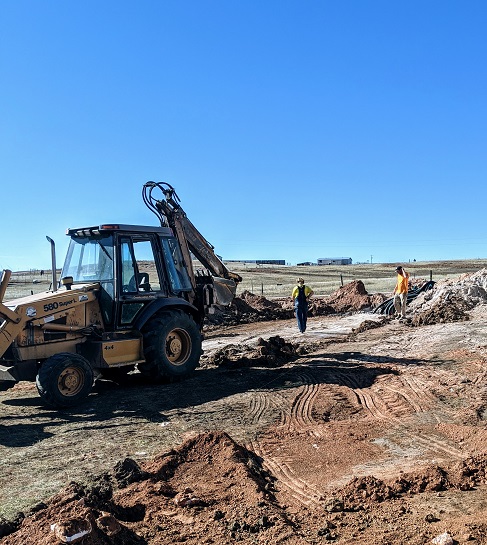
11/26/20 – The big dig. Excavators (thank you Construction Services of Hot Springs) came out today to dig the trench through the center of the greenhouse. The dirt we pulled out will give us plenty of fill for the east end of the greenhouse.
12/03/20 – Now how does this thing go together???? So we had a couple false starts – well actually, a half day of false starts while we figured out the best way to proceed. We painted only the joints but later realized that it would be much easier to paint the entire arch prior to assembly. Another false start.
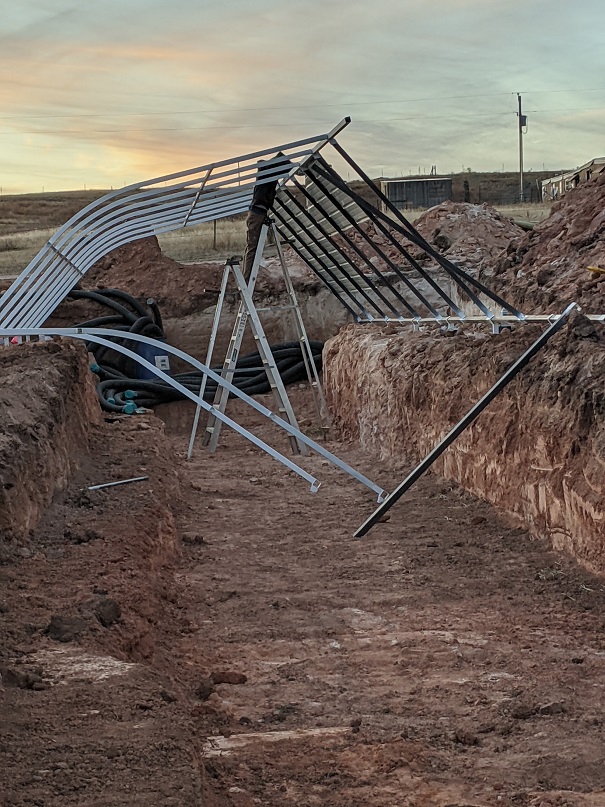
12/08/20 – Now that we have the framing painted, we can get to building this thing. You will notice we did not paint the steel on the north side that will be covered with spray foam insulation.
We put up the start of the back wall panels to hold the frame square as we added the arches down the line.
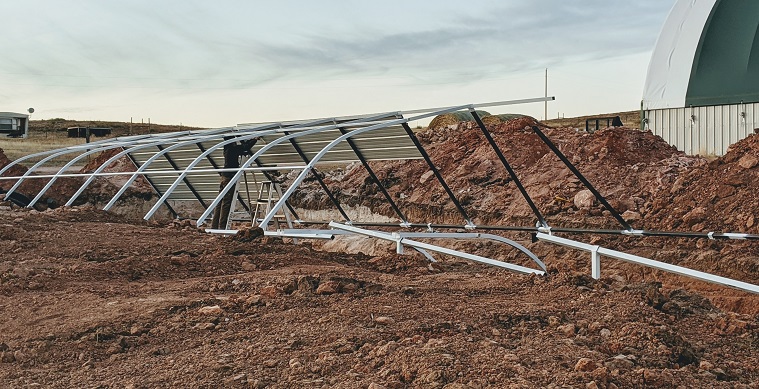
Got halfway there when we ran out of daylight. So far so good, everything has been lining up perfectly. The next day we got all the way to the last arch and somehow came up 4″ short on the overall length. Not sure how that happened and it was too late to do anything about it so we just cut off the purlins to make the last span 5′ 8″ instead of 6′. This means the polycarbonate will overhang 4″ unless we cut it. We’ll deal with that when we get to that point.
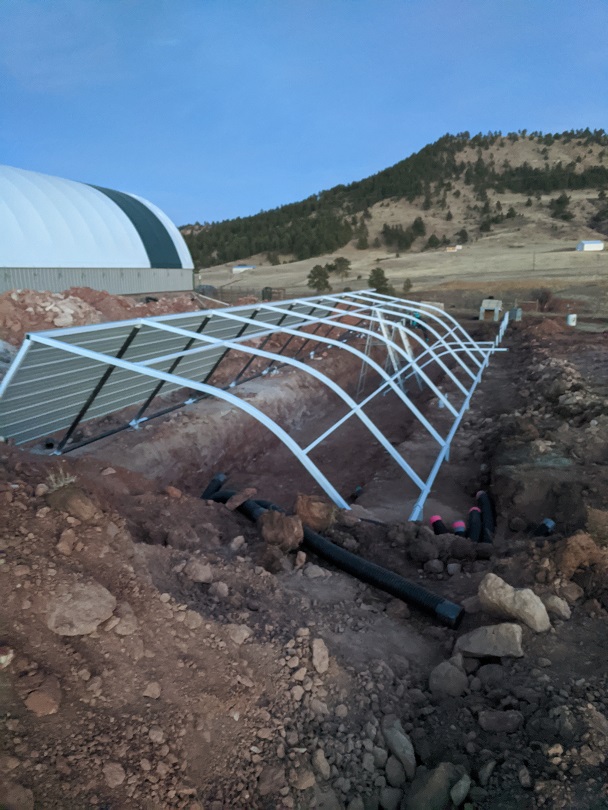
12/10/20 – North wall complete!
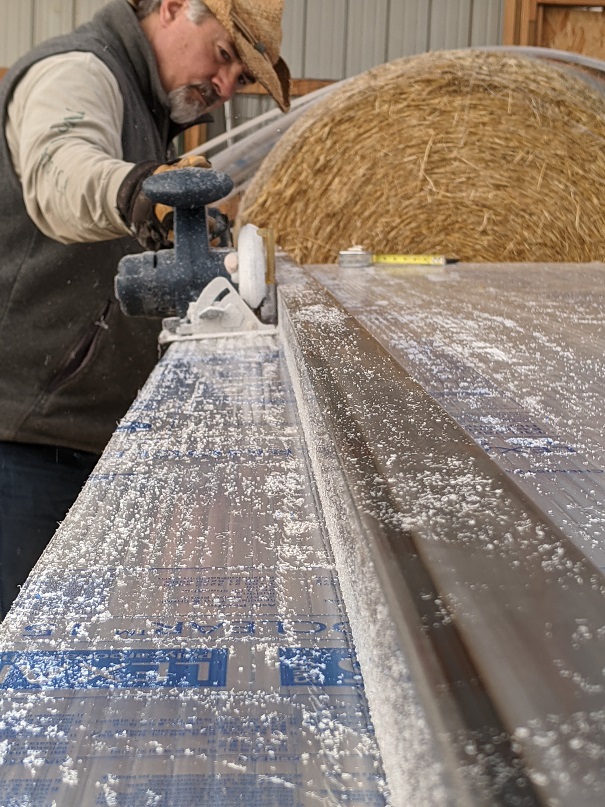
12/22/20 – Prepping for installing the polycarbonate panels. The panels will be pinched between 4″ polycarbonate strips so they can expand and contract with the temperature changes.
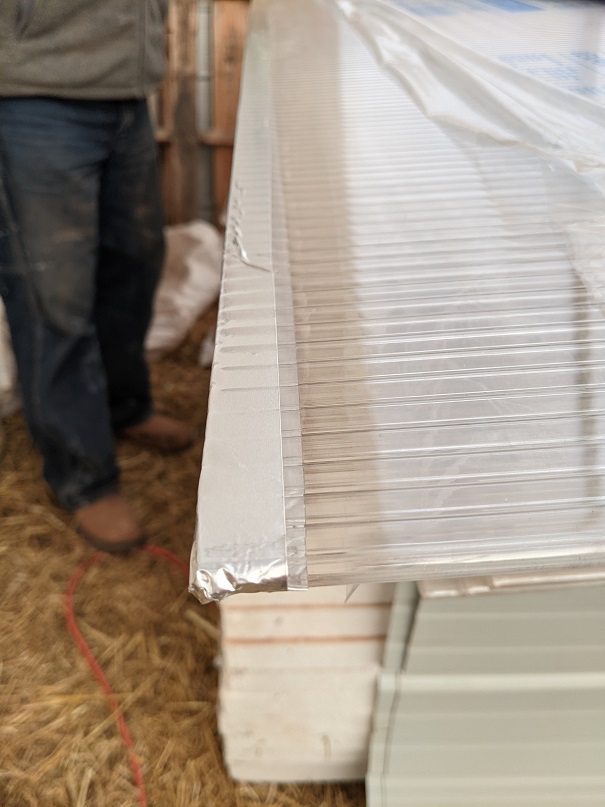
We tape the ends of the panels with aluminum tape to keep moisture and bugs out of the flutes.
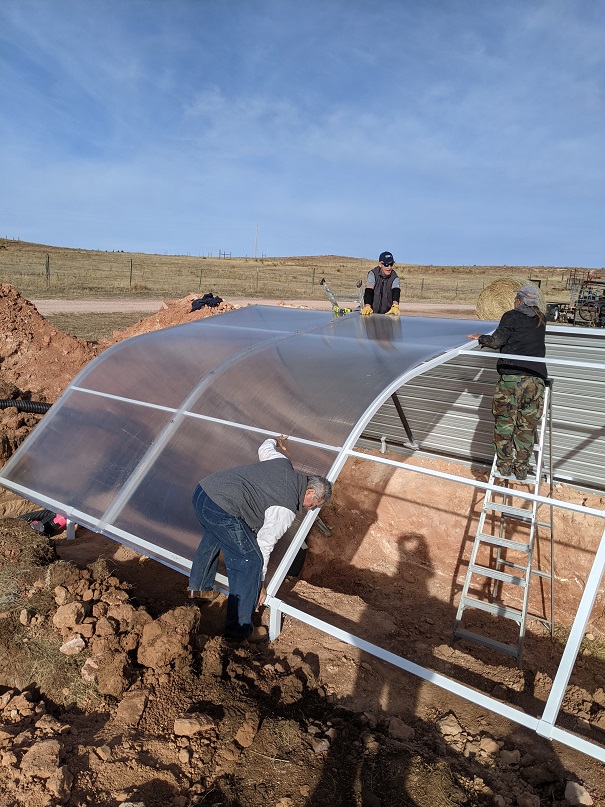
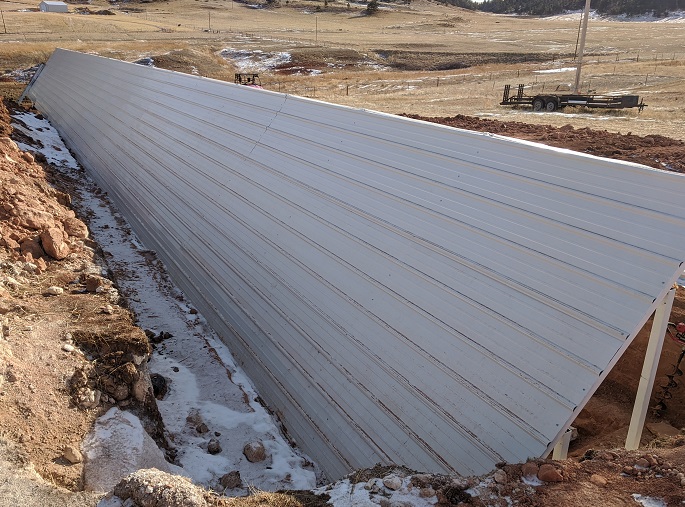
12/26/20 – Installing the polycarbonate panels. It took 3 of us to manage these big 6′ x 14′ sheets. The process was to lift them over the back wall and feed them into the slot between the 4″ inch strips of the panel previously installed. That would force the bend in the panel as it was fed over the top of the greenhouse.
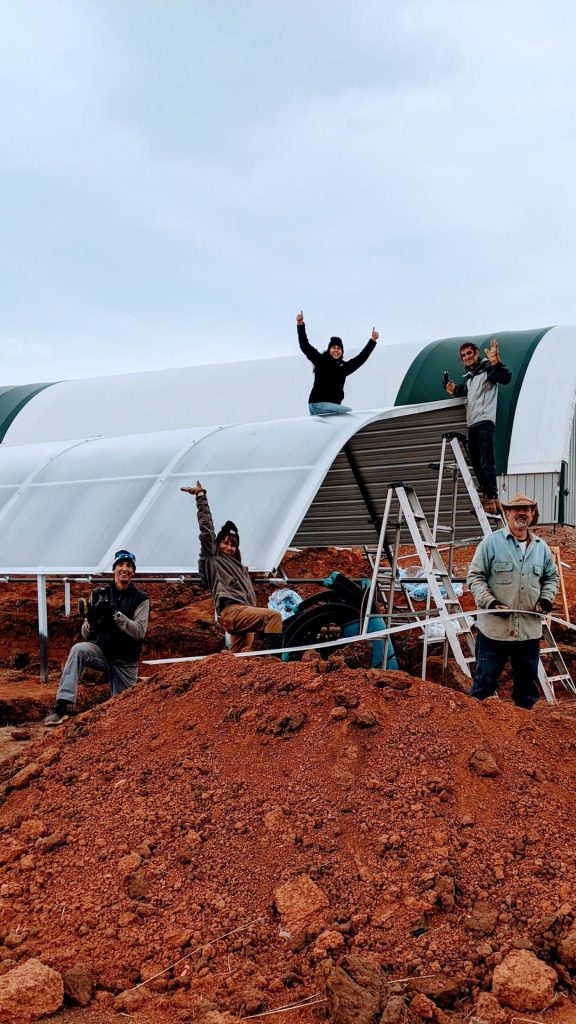
Wow – got it all done in one day. Thank you Uriah and Marco! She’s a beauty.
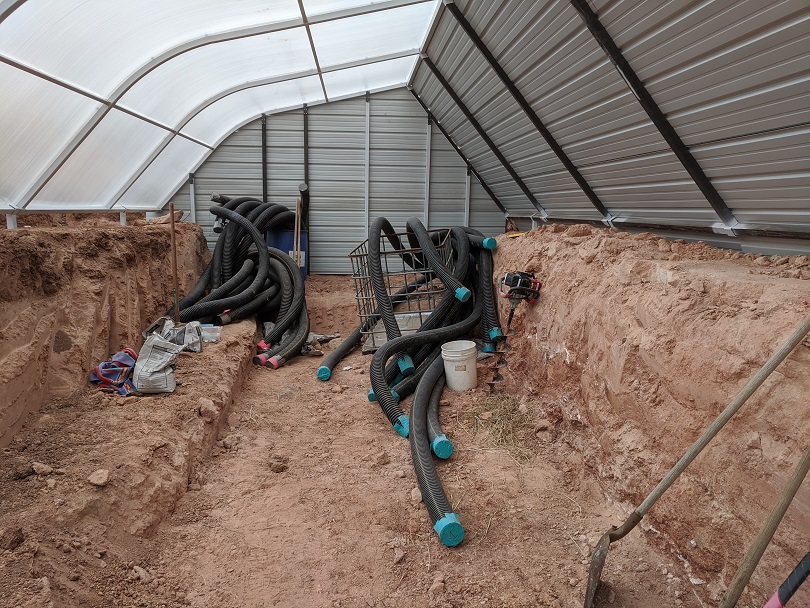
01/13/2021 – The west end wall is up. Now we just have to organize all those tubes!
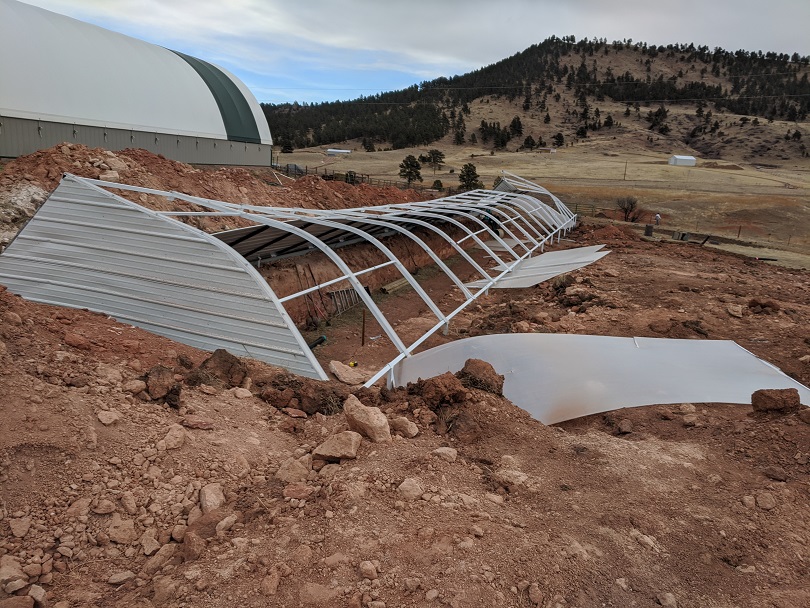
We had a significant setback. High winds hit and we lost the entire thing. We are still trying to figure out what happened.
01/29/2021 – We got it all taken apart and started over with the attachment of new polycarbonate panels and back wall panels. In studying the damage, we concluded the collapse was in part due to a microburst at the greenhouse location in combination with an open east end that caused the roof to flex between moments of alternating suction and downward pressure. Because there was no east endwall, there was enough sway to pop a polycarbonate panel out of the very end and once one panel gave way, other panels followed. We retrieved panels from over 1/2 a mile away!
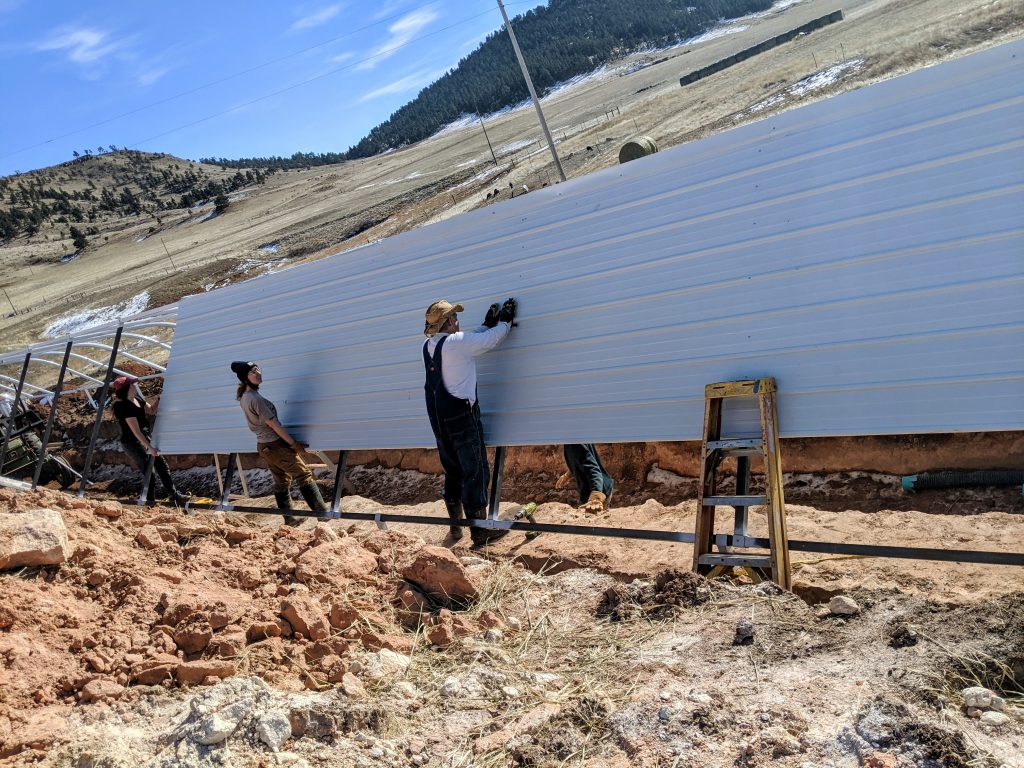
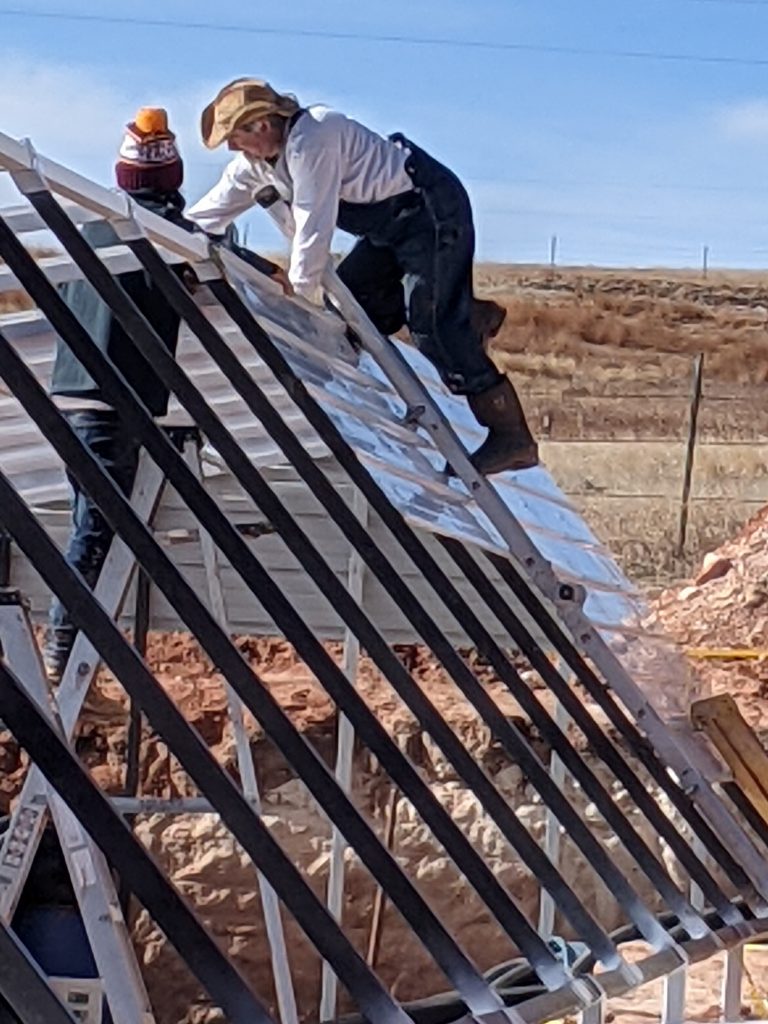
This time we are building the polycarbonate side and steel wall panel side in parallel in case we get another windy day. We are also setting screws in all the frame joints as we go along to eliminate any sway
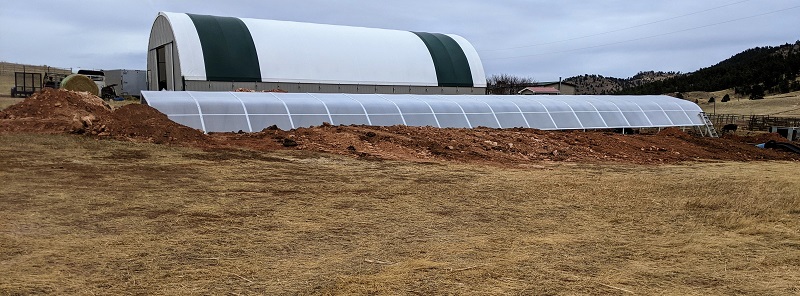
02/04/2021 – Finished the polycarbonate and almost back to the point we were a month ago! Now we complete the back wall and start with the back fill on the sides.
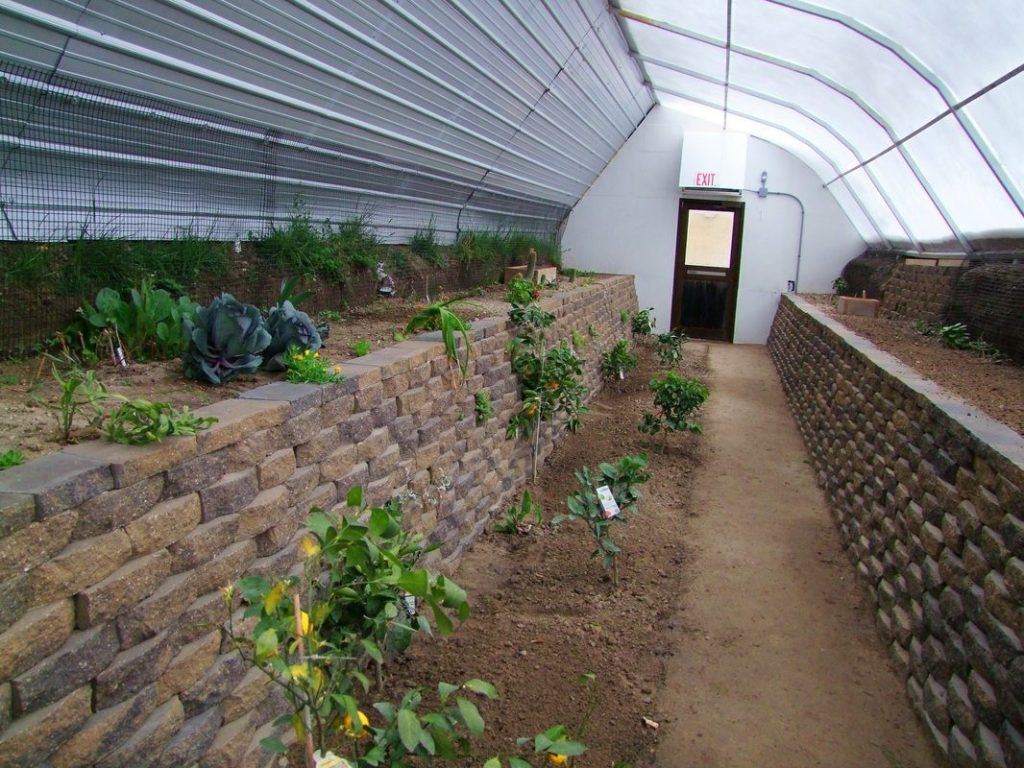
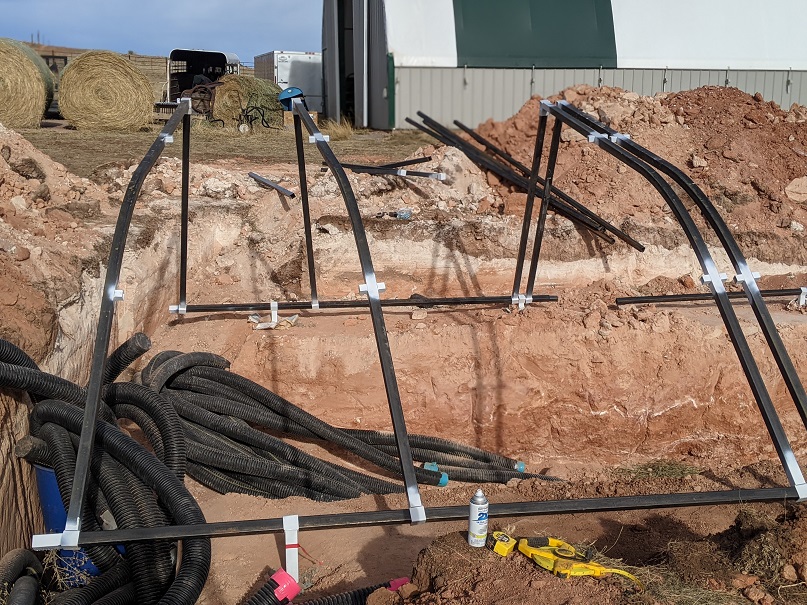
07/22/21 – We had slowed down on the project until summer as (a) we were short on help and (b) we missed our window to plant in March and knew we were going to have over-heating issues until fall. Our recently arrived farmhand, Titus, is on the project with us now so we are picking up the pave again. So, on the cooler days we worked on building the interior retaining walls on the north and south sides. We used 4″ fence posts on the north side and 3/4″ rebar on the south side. The bent up panels (from the wind storm) got re-purposed as retaining walls.
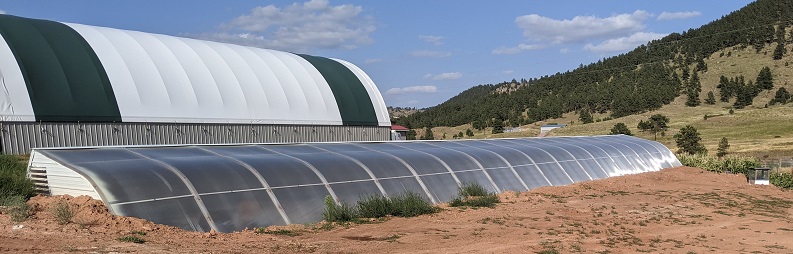
08/15/2021 – Once we finished the retaining walls, we started work on the back fill. We flattened the grade on each side about 2 feet to from the edge of the greenhouse. We then laid 2″ foam board and covered it with 6 mil plastic so water coming off the lexan and back panels would be carried away from the structure. We did not take pictures of this process – oops! We also put a 6 foot wide double swing patio door on the east end.
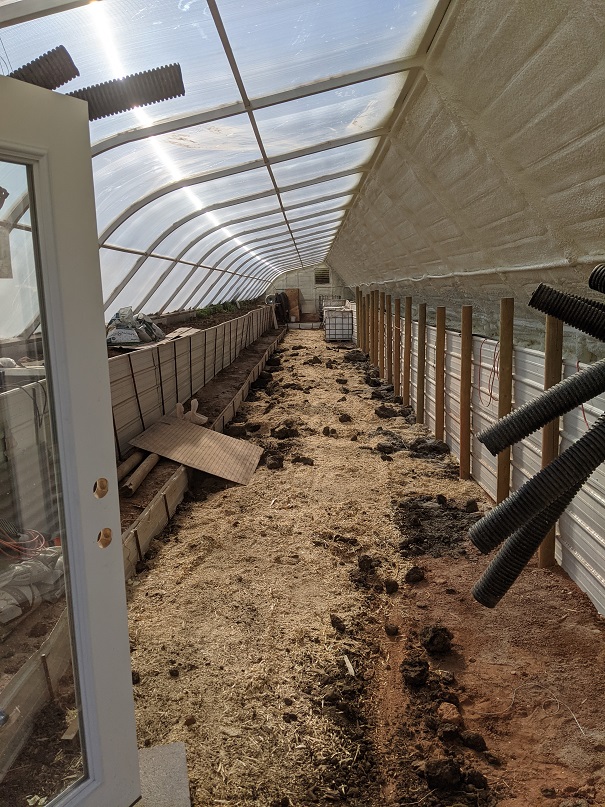
08/25/21 – We have insulated the back wall and side walls with 2 inches of spray foam and now it is time to prep the floor with aged manure and sawdust. We (mostly Titus – yay Titus) brought in about 12″ of manure and 2″ of sawdust that we tilled into the floor to prep it for planting trees. Almost time to order trees!
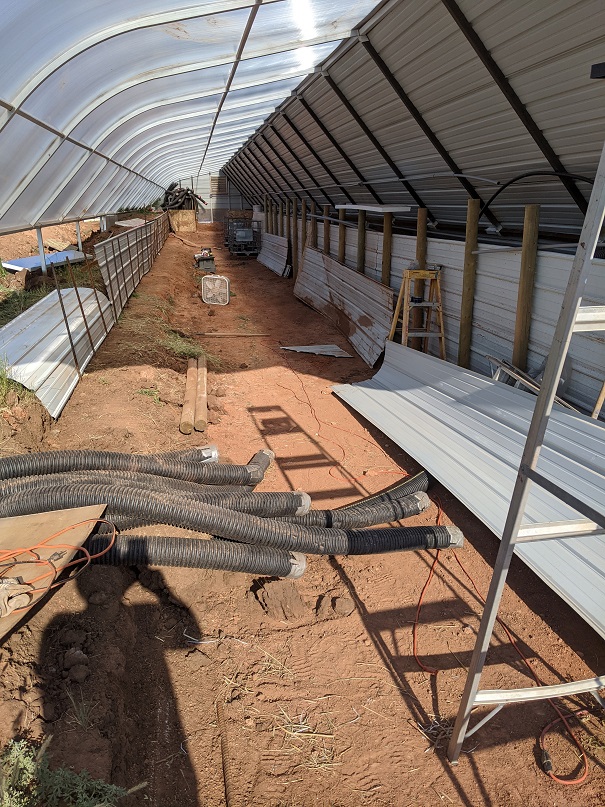
We have an exhaust fan up and running and cut an intake vent (you can see it open) on the west wall.
The underground tube ventilation is almost up and running. We’ll have pics on that later.
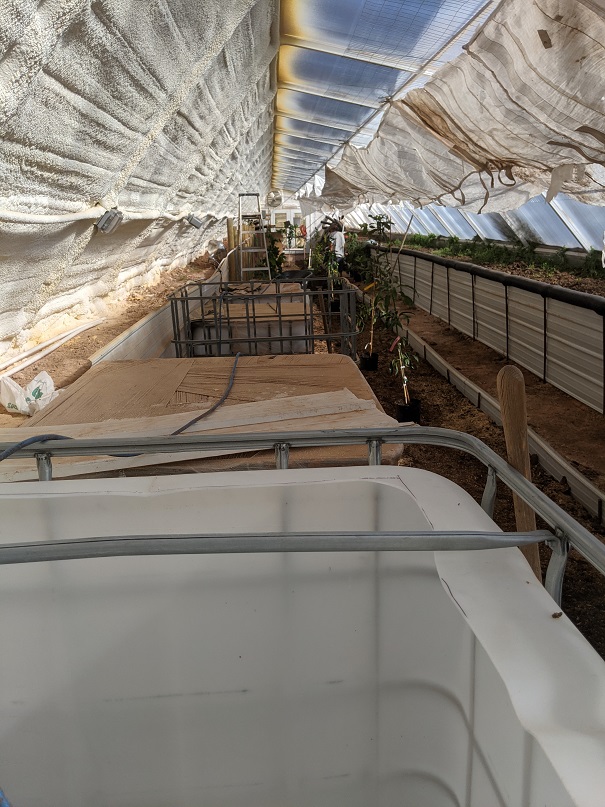
10/10/2021 – Trees arrived! We started laying out where they were going to be planted. While waiting for the trees, we brought in the tanks for the aquaponics systems. You will also see we hung used feed bags across the ceiling to help control the heat.
We installed a PVC water line along the north retaining wall the full length of the structure. Hose taps are available every 30 feet for easy access to water anywhere in the greenhouse (more easily seen in the next photo).
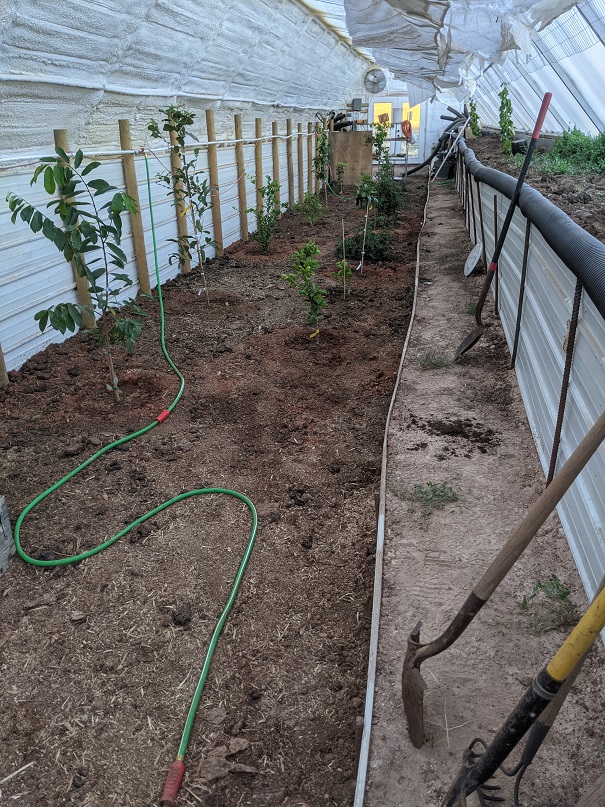
10/16/21 – Trees are planted! Our selection included banana, mango, guava, soursop, fig, lemon, lime, key lime, orange, grapefruit and avocado. We are using passion fruit vines to create shade on the south wall. We have 4 plants that should eventually grow out to 30′ wide each. With a careful eye, you can also see that we installed woven wire fence along the entire south wall. It starts about 2 feet above the south bed and continues 10 feet along the polycarbonate towards the peak of the greenhouse. This lattice will be used as support for climbing vines as we as something to hang lighting and tomahooks from.
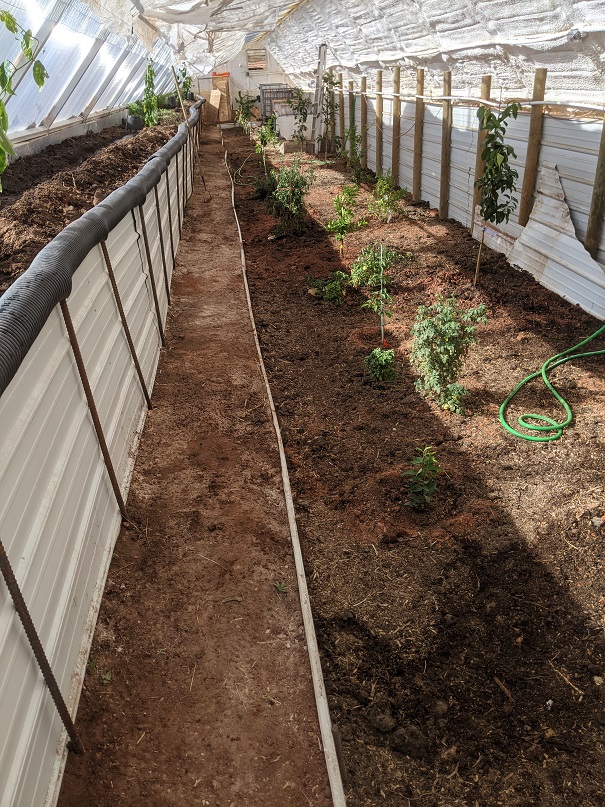
10/16/2021 – Another view of the planted trees. You will notice we used the scrap 4″ tube pieces over the top of the south retaining wall. Titus came up with this idea and it works beautifully! It covers both he rebar and the sharp edge of the roofing panel metal. Plus it is very comfy when you lean over it to reach the fat side of the planting bed.
We have all the fans running now and are still struggling with the heat. On sunny days we are heating to 90 degrees inside when the outside temperature is 40. Part of the problem is that the air coming out of the ground is 80 degrees (we expected 60 degrees). So we are tweaking things and trying some experiments that I’ll share soon.
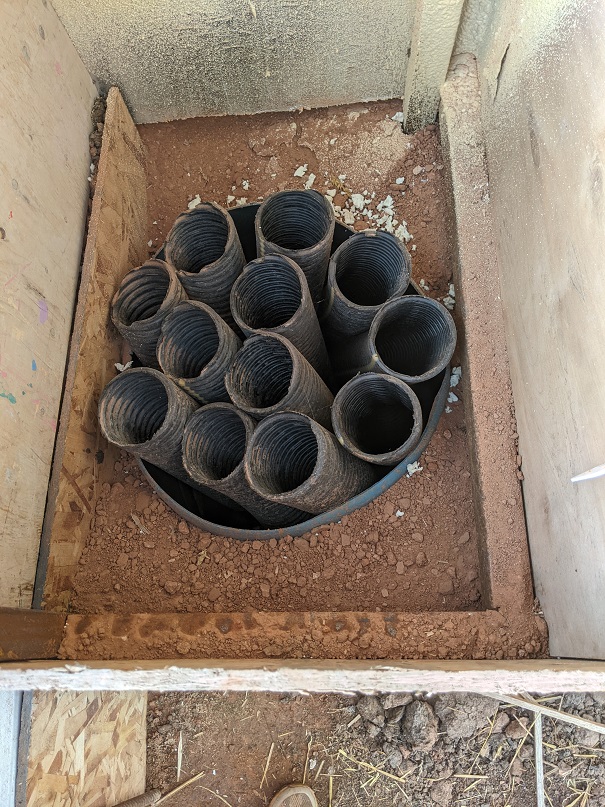
11/06/21 – The moment you have all been waiting for…details on the underground ventilation system. We set up the system to “draw” air through the tubes as opposed to “pushing” air through the tubes. We created sealed chambers that the tubes terminate in and then mounted a blower fan on top of the box. We are seeing about 1 mph wind speed in each tube. This has been sufficient to keep the greenhouse at 50 degrees at night regardless of the weather outside.
11/06/2021 – The fans are set up on thermostats that turn them on when the ambient temperature inside is less than 50 degrees or when it exceeds 80 degrees. The exhaust fan is on a separate thermostat to turn it on if temperature exceeds 85 degrees. The intake vent is also on a thermostat that opens the vent if the outside temperature is more than 50 degrees. Thus if the exhaust fan is activated, the vent is always open. I had said in a previous post that we were getting 80 degrees air out of the ground in October. That has now dropped to 50 degrees.

12/20/21 – Hmmmm. Our nights are approaching zero and the temperature is falling to 45 degrees inside. We are going to try and experiment for a few weeks. I am going to flip the blower fans over so the “push” air through the tubes. The immediate observation was that the speed of air through each tube increased to an average of 4.5 mph! However, the temperature of the air exiting the tube had dropped to 45 degrees. My thinking is that at the slower speed, we were getting a more complete heat transfer process. Or, are we seeing a wind chill effect on the thermometer since the air coming through the tubes is moist?
1/01/2022 – The jet stream has dipped south and our nights are now getting below zero, down to -12 tonight. The air temperature in the greenhouse was at 42 at 6pm so I put a propane heater in the greenhouse on low and it kept it at 46 or so all night. I’m going to make some adjustments on the blowers again to see if I can get a little more speed out of them. I have discovered that adjusting how far the motor sits inside the blower assembly might be affecting turbulence in the blower box and thus overall airflow. I am going to adjust the position of all the motors to be as far outside the blower assembly as possible.
1/02/22 – We installed lighting down the center of the greenhouse. It comes on at dusk and stays on for 4 hours. We are using six 13,000 lumen 8 foot LED fixtures.
1/03/22 – Moving the motors as far outside the blower box as possible did increase total CFM through the blower, increasing the average wind speed through the tubes to 6 mph.
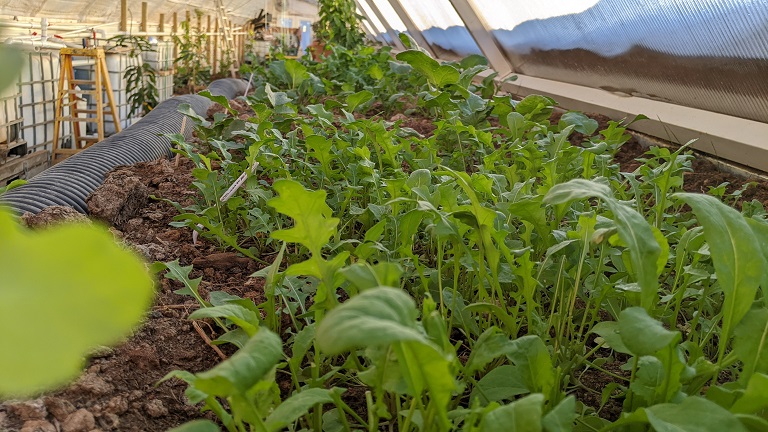
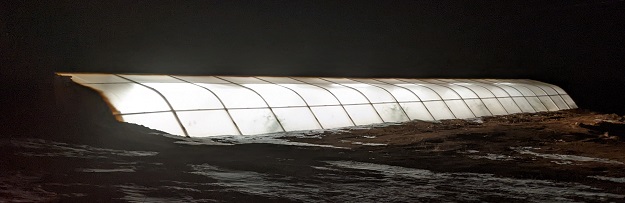
1/09/22 – Fresh salad in a few days! We have learned that at -20 degrees at night, the greenhouse is staying 38 degrees or so without any extra heat source other than the circulating fan system. When temps are around 0 degrees, the temperature stays in the low 40’s. Notice the snow piled up on the lexan panels and the happy young lettuce.